

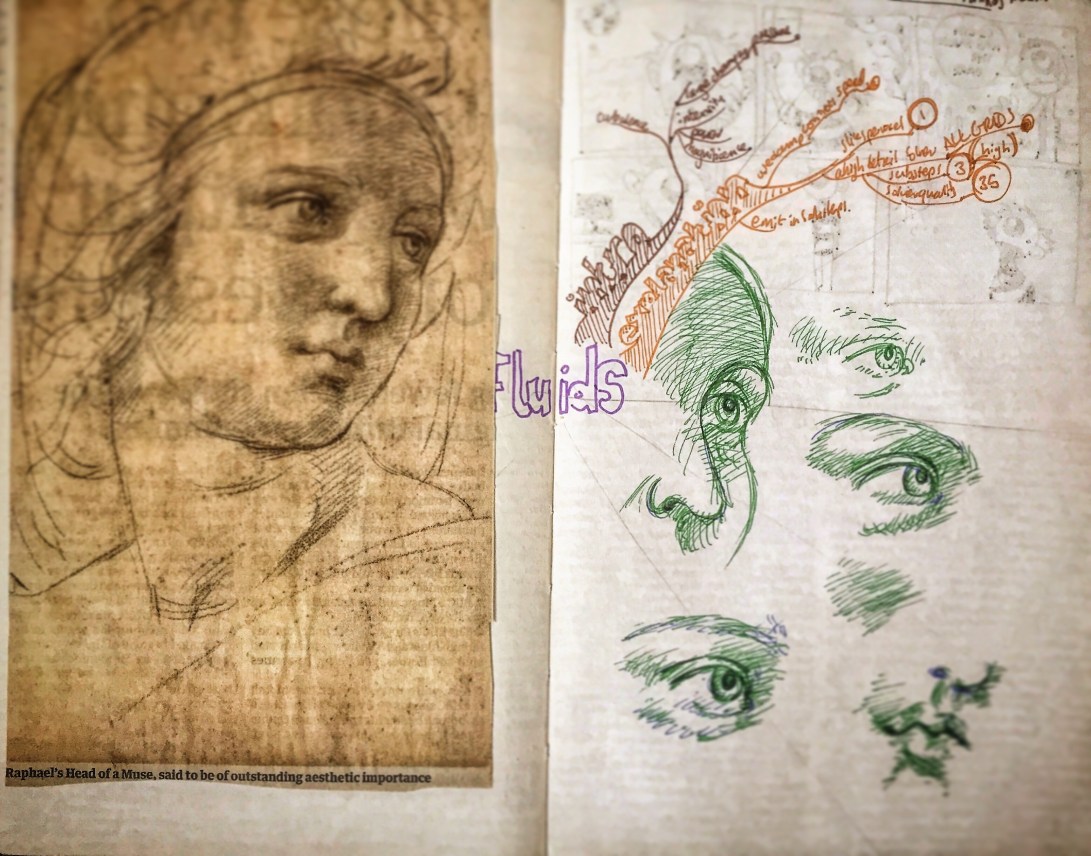
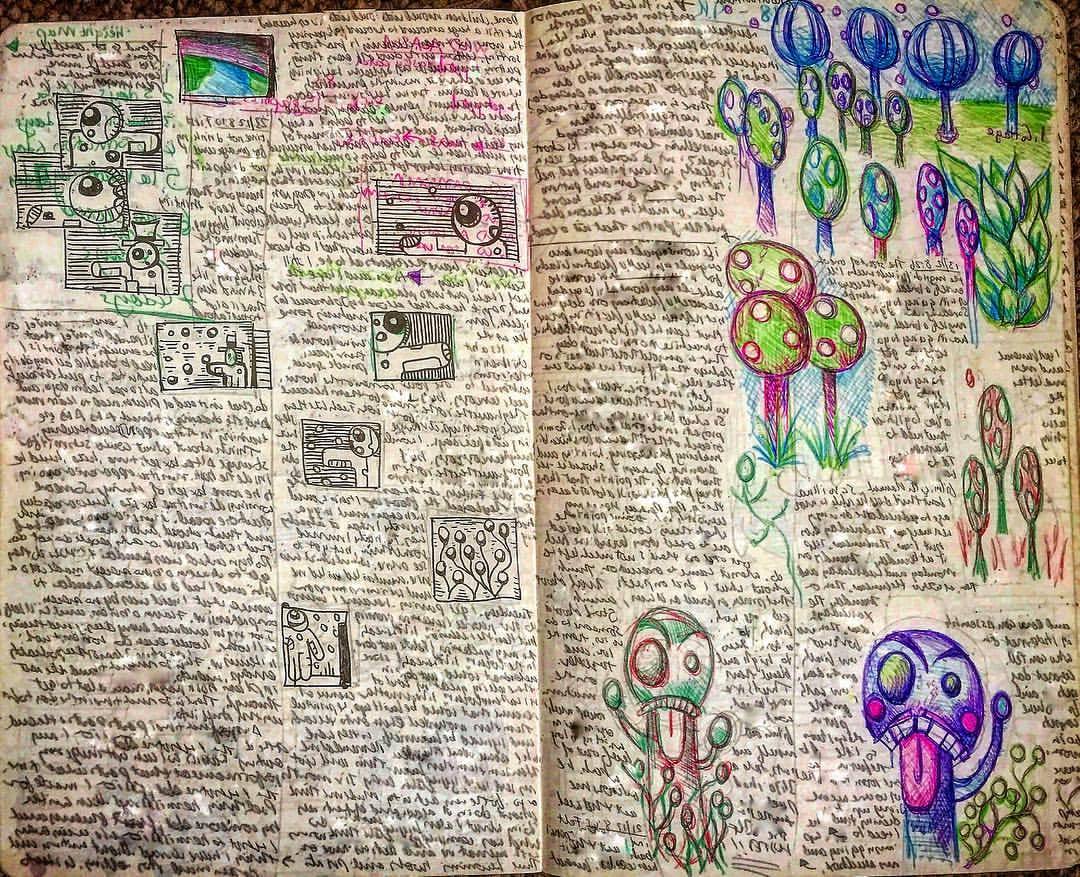
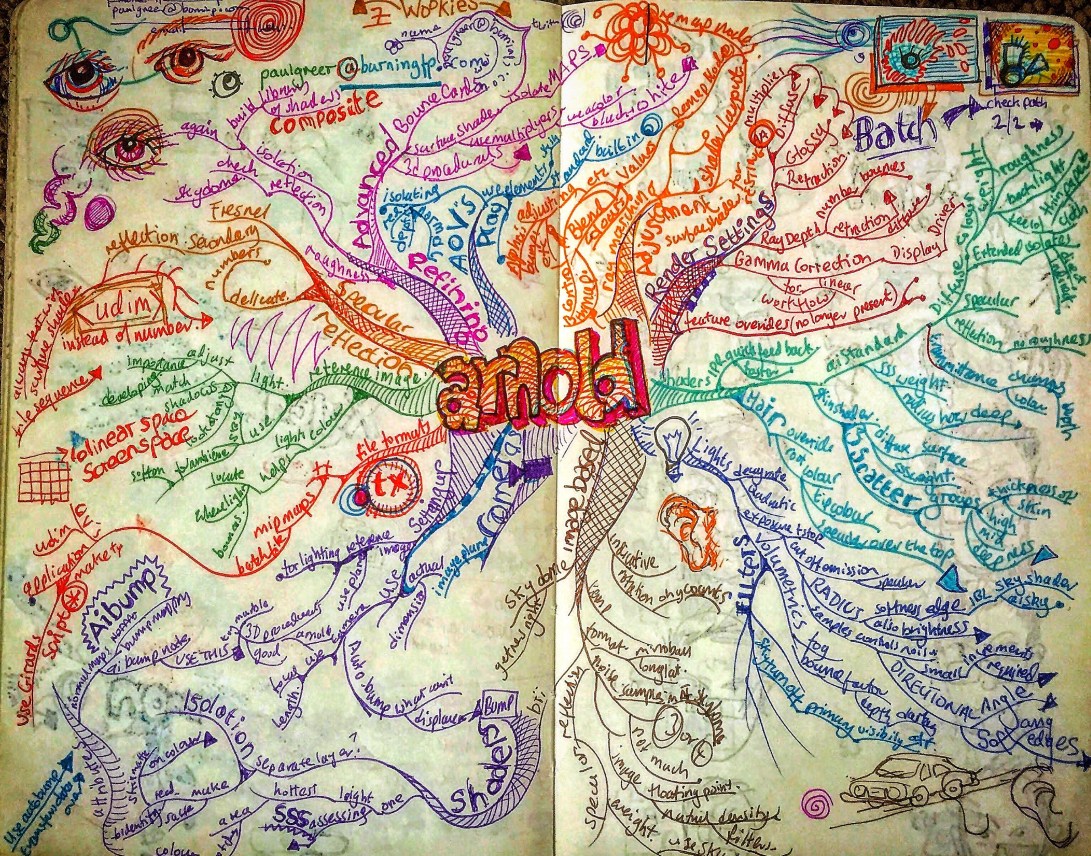
Mind map on rigging models in Maya and drawing of snacking child (artist included).
🧒 🕷 📓

As of version 5.0.1 Arnold requires that the license server is using the Autodesk flexnetserver system instead of the RLM system previously used by Arnold.
I have just switched the render farm over to this system and had some trouble getting all the required information I needed in one place as many instructions have a certain amount of assumed knowledge.
So here is various instructions gathered from different parts of the Autodesk support site and placed in ONE list, with a few comments and additions here and there from myself.
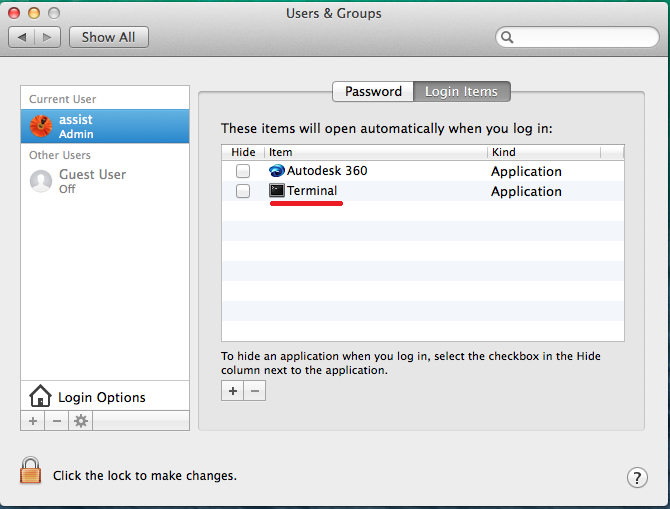
This will be installed on the server computer.
You will need to be on Apple macOS High Sierra 10.13, Apple macOS Sierra 10.12 or Apple Mac OS X El Capitan 10.11.
You will need to do this to be able to see some of these folders where the installation is taken place.
You can do this by logging into your account on Autodesk.com and going to “Manage Products and Downloads” and selecting “Generate A Network License File”from the Arnold drop down menu.
It’ll ask for the MAC address and name of your machine.
You can get the MAC address by going to System Preferences, click on NETWORK, choose WIFI from the list of connections, then click on Advanced and then select Hardware.
The MAC Address is displayed here.
In Finder, go to the Downloads folder and double-click nlm11.14.1.3_ipv4_ipv6_mac_universal.tar.gz
In Finder, double click nlm11.14.1.3_ipv4_ipv6_mac_universal.pkg to run the installer
Copy your license file to /usr/local/flexnetserver
I had trouble with this as my admin did not have permission to look inside the “usr” folder.
So, post intsallation, I moved the flexnetserver folder onto the root of my Hard Drive. Consequently I had to adjust all subsequent addresses from /usr/local/flexnetserver to /flexnetserver.
Open a terminal
Start the license server. Copy this line of text and paste it into the terminal window. Then press ENTER
/usr/local/flexnetserver/lmgrd -c /usr/local/flexnetserver |
(in my case Where the first address is the location of the flexnetserver file and the second is the location of the license file.)
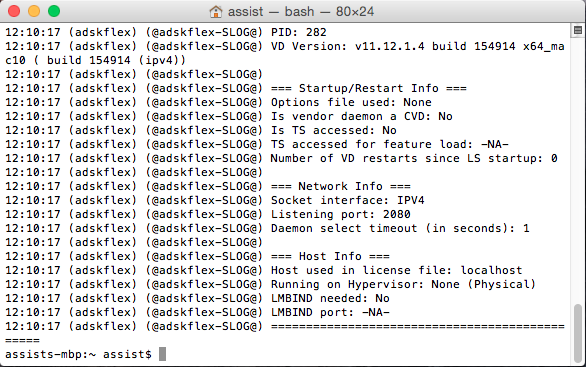
This is the command that run to start the license server after you restart the computer.
Type this into a terminal window.
/usr/local/flexnetserver/lmutil lmstat -a -c /var/flexlm/adsk_server.lic
Where the first address is your flexnetserver adress (see above) and the second is the location of your license file.
In TextEditor go to “format” and select Make Plain Text.
/usr/local/flexnetserver/lmgrd –c /usr/local/flexnetserver/adsk_server.lic –l /var/flexlm/adsk_server.log
cd $HOME
mv Desktop/profile.txt .profile
ls -la
Make sure that you correctly set the ADSKFLEX_LICENSE_FILE variable:
An Environment Variable is needed for Arnold to verify where to pull a license from. This needs to be done on the workstation where MtoA will run.
Use a text editor to create a flexlmrc.txt file. Its content should look like this, except with the name or IP address of your license server:
ADSKFLEX_LICENSE_FILE=@MY_SERVER_HOSTNAME_OR_IP
If the license server is on the same machine as Arnold, your flexlmrc file will look like this:ADSKFLEX_LICENSE_FILE=@localhost
Save the txt file anywhere on your machine. Open a Terminal window and type open ~ (Mac) or nautilus ~ (Linux) to open your Home folder, then drag and drop your flexlmrc.txt file there.
Then type cd ~ to move your terminal to the Home folder.
Finally type mv flexlmrc.txt .flexlmrc (Mac) or mv flexlmrc .flexlmrc (Linux) to make the file a configuration file.
This file can now be copied to the Home folder of the other machines in your farm.

This is a two minute extract of Secrets of Brain Health presentation at We The Curious Digital Dome, 2nd July2018.
At BDH we worked with scientists at Clinical Research and Imaging Centre the University of Bristol, taking the raw data from 3D volume MRI brain scans and, using MEL scripting and Maya turning it into usable, but accurate models of thought patterns and brain activity that could then be treated and rendered in Maya and Cinema 4D to create these visualisations.


“Like magic, crime, and power, CGI works best when undetected.”
At BDH we made some pretty delicious graphics for this series on the chemistry of food.

Michael Mosley and James Wong reveal the physics, chemistry and biology hidden inside our food. They travel the world in a culinary adventure to search for the origins of our favourite foods and using specialist photography and CGI, they take us on a journey inside the most sumptuous food, right down to the molecular level.
You can see a promo here featuring some of the work we did.
Watch out for the tongue and tastebud sequences ;-).
9pm Friday 24th February (This evening) BBC2.
Replacing the “displacementToPoly” command previously useful in Maya.
Go to Arnold/Utilities/Baked_Selected_Geometry. This will export from the scene as an OBJ that should match your Catclark Subdivision level. The process can take some time.
You then have to import the OBJ back into the scene.

“This was a stunning entry, with the success of the whole show entirely dependent on the skill of the Effects team. The textures and liquids they created were so realistic that the jury felt completely immersed, forgetting they weren’t watching a real embryo. An extraordinary piece of work.”

Great news.
You can see the full list of nominees here.
Excellent work and congratulations to the rest of Team BDH. The final result was a perfect blend of many peoples work, modelling, rigging, sculpting, rendering, lighting and compositing with the BDH signature analogue elements.
Fingers crossed for the 28th.
(You know, it’s the one with all the babies.)
